Projects

/Projects

Current Projects

1 05, 2017
    MAX7219 LED Name Plate – Weekend Project

    By |2017-05-01T16:04:09+00:00May 1st, 2017|Projects, Uncategorized, Weekend|0 Comments

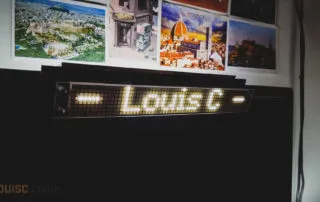
    Like most electronic geeks, at some point, you'll build a project displaying something on a matrix of LEDs! I remember how proud I was many years back displaying things on an 8x8 LED matrix multiplexed using only shift registers and a basic PIC micro-controller! Although all of your "normal" friends will definitely give you the, "oh cool, is that all that huge pile of messy wires does" face. Now, you can buy ready to go LED matrix modules, [...]
    28 06, 2016

      Placing text along a path using Geomerative and Processing

      By |2016-11-05T11:17:47+00:00June 28th, 2016|Kinetic Storyteller, Programming, Projects, Uncategorized|1 Comment

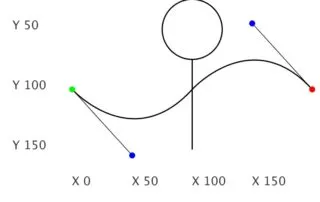
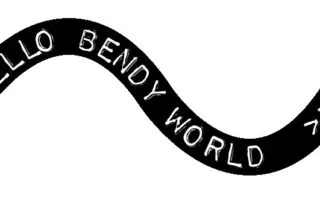
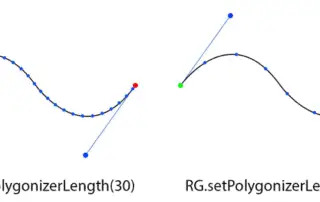
      Introduction In the last post here we explored placing points along an a wave path we had created all using the built in functionality of the Geomerative library. This was ultimately to allow text to be placed along the path, which is what today's post will cover. If you have not read the previous posts, you will require a great library for processing named "Geomerative"  (Website) by Ricard Marxer.  I have struggled to find many similar sketches online [...]

      25 06, 2016

        Placing points along an Arc using Geomerative Polygonizer and Processing

        By |2016-11-05T11:17:47+00:00June 25th, 2016|Kinetic Storyteller, Programming, Projects, Uncategorized|1 Comment

        This is a follow on from this post on drawing arcs with Geomerative, a great library for processing (Website) by Ricard Marxer.  I have struggled to find many similar sketches online other than those included in the examples, so i figured I would share my progress. This post whilst keeping a log for my own future use, I hope may serve as a reference for others out there with the same aims as me. Here we will begin to [...]

        23 06, 2016

          Drawing Arcs and Text with the Geomerative Processing Library

          By |2016-11-05T11:17:47+00:00June 23rd, 2016|Kinetic Storyteller, Projects, Tinkering|1 Comment

          Download Code for Mr Wavy Dude below. Fist introduced in this post (, I am currently working on a project titled the "Kinetic Story Teller" with friend and artist Tine Bech.  This is a visual arts interaction piece and as such I am  learning Processing. This is another post sharing logging and sharing my learning journey. The new visual design will re-focus the piece on a concept which was part of the original plan; the idea of flow [...]

          19 06, 2016

            Tinkering in Processing – Drawing a Hexagonal Grid

            By |2016-11-05T11:17:47+00:00June 19th, 2016|Kinetic Storyteller, Projects, Tinkering|6 Comments

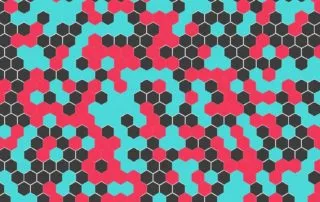
            My friend Tine (Her cool Artwork here) has a new gig; an interactive swing set for display in the art exhibition at SIGGRAPH 2016, probably the largest computer graphics and interactive techniques conference. One of the reasons I feel Tine and I work so well together is we both appreciate the benefits of an iterative design process when molding technology to artistic ideas. Mess with ideas in the prototype stage, keep things as modular and flexible as possible and [...]

            22 01, 2015

              Inside a 3D LCD TV – Details and Laser Cutting Pt.2

              By |2016-11-05T11:17:47+00:00January 22nd, 2015|Hanging 3DTV, Projects|0 Comments

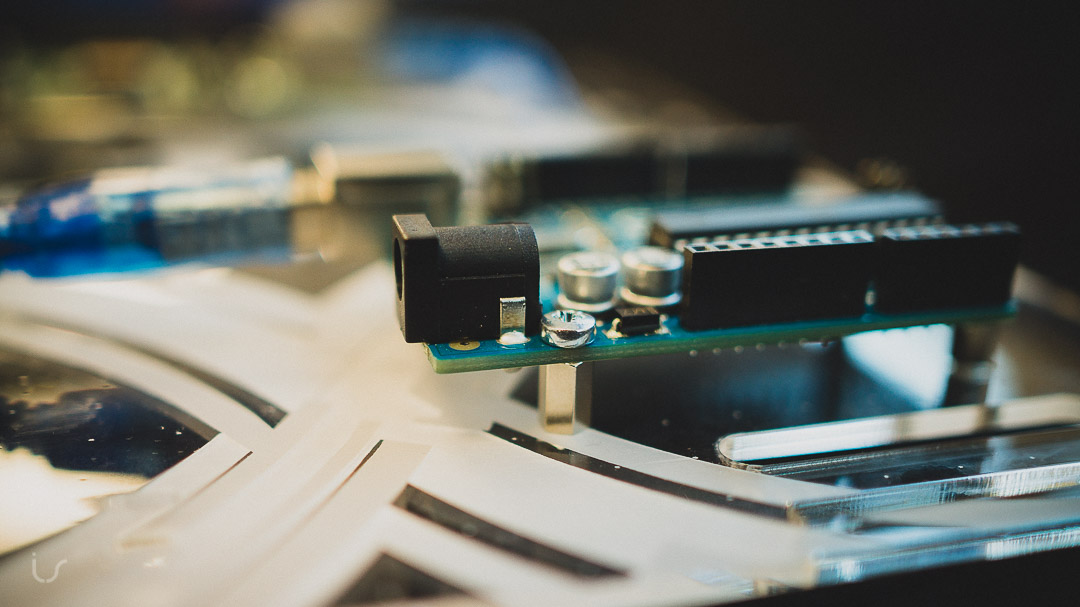
              Raspberry pi & Arduino The next step was to design the perspex board which will mount the raspberry pi, which will be our media player, and the arduino which will control the back light, power and sensors (more on this at a later date). As with all of these boards, we began with a vector design: Vector Graphics for the Raspberry Pi and Arduino perspex. The different colours represent different depths of raster engraving. Quick [...]

              18 12, 2014

                Inside a 3D LCD TV – Details and Laser Cutting Pt.1

                By |2016-11-05T11:17:47+00:00December 18th, 2014|Hanging 3DTV, Projects|1 Comment

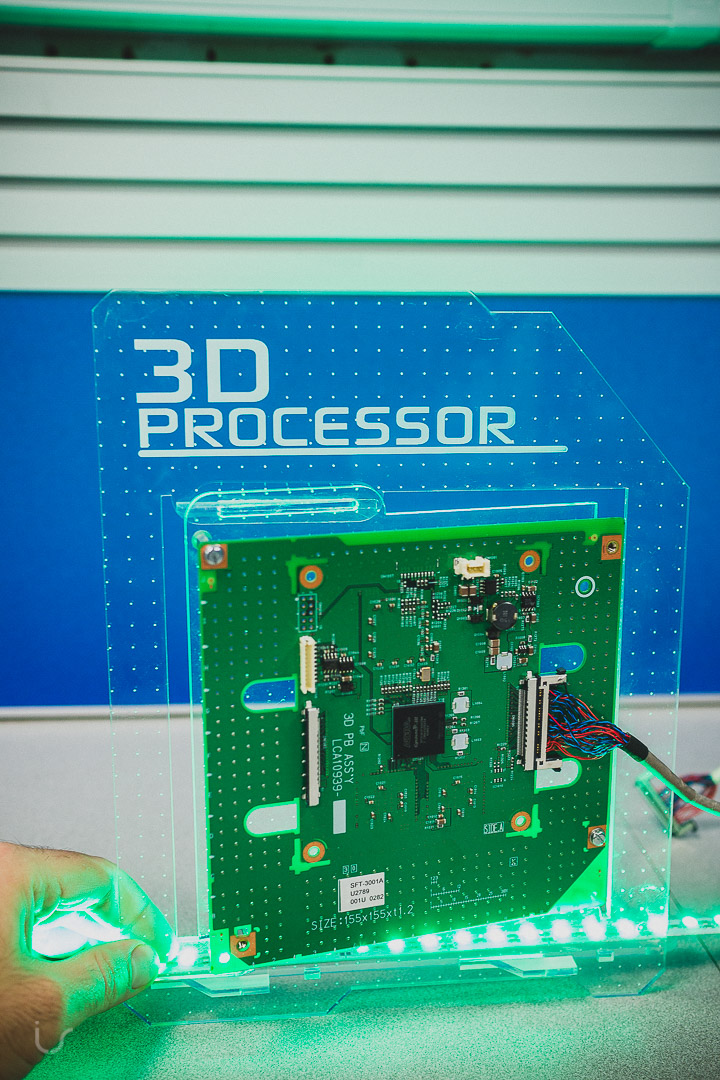
                With the screen temporarily hung, it was time to decide how to lay out the acrylic sheets on which the 3DTV's processing, driver and control boards would go. These would be mounted above the LCD layer of the TV and had to be laid out in a way which allowed for the signal bearing pre-made (rather intricate looking) cables and connectors would still reach each other. The Main Board First up was the mainboard, this has all [...]

                15 12, 2014

                  Inside a 3D LCD TV – 3DTV Hanging The Panels (In Pictures)

                  By |2016-11-05T11:17:47+00:00December 15th, 2014|Hanging 3DTV, Projects|0 Comments

                  With each layer in its own frame, we decided to begin hanging the components from the brackets (now drilled and mounted on the wall) to begin to establish how to lay out connections between the boards. Story line of pictures below tells most of the story, each is also captioned have a read if you're interested!

                  1 10, 2014

                    Inside a 3D LCD TV – 3DTV Frame Construction

                    By |2016-06-25T23:09:22+00:00October 1st, 2014|Featured, Hanging 3DTV, Projects|0 Comments

                    The next step was to house and mount each of the separate layers in their own frame. These frames will then be hung from the brackets as shown in the concept diagram: Each layer was different and therefore required a custom made frame. Each frame was made from aluminium to keep weight down. This will just be a picture post, each photo is captioned explaining the process:

                    1 09, 2014

                      Inside a 3D LCD TV – CCFL to LED backlight replacement conversion

                      By |2016-06-25T23:09:56+00:00September 1st, 2014|Hanging 3DTV, Projects|2 Comments

                      Out with the old... First things first, the CCFL tubes had to go! In with the new... We decided to bite the bullet and order 40 meters of white 5050 LED strip. When it arrived the build began. Considering the current requirements for the amount of LED strip we were planning on using (~36 meters), we decided on a 24v rail for LED power. This meant each 12v LED strip would be placed in [...]

                      21 08, 2014

                        Inside a 3D LCD TV – From Idea to Concept

                        By |2016-06-25T23:10:07+00:00August 21st, 2014|Hanging 3DTV, Projects|0 Comments

                        At this point, with the TV in peices, there was a few of us who had gathered around. Primarily fellow engineers and lab techs. That was when an idea was born, whilst talking to each other, Bill Backhouse (lead lab tech and close friend) and I had a brain wave. This is somthing other young engineers would enjoy looking at. So we decided to make it a show peice. A hanging exploded, hopefully working model of a [...]

                        20 08, 2014

                          Idea! Lets create a real exploded hanging 3DTV… That Works! (46″ 3DTV Teardown Included)

                          By |2016-05-29T19:34:28+00:00August 20th, 2014|Hanging 3DTV, Projects, Teardown|0 Comments

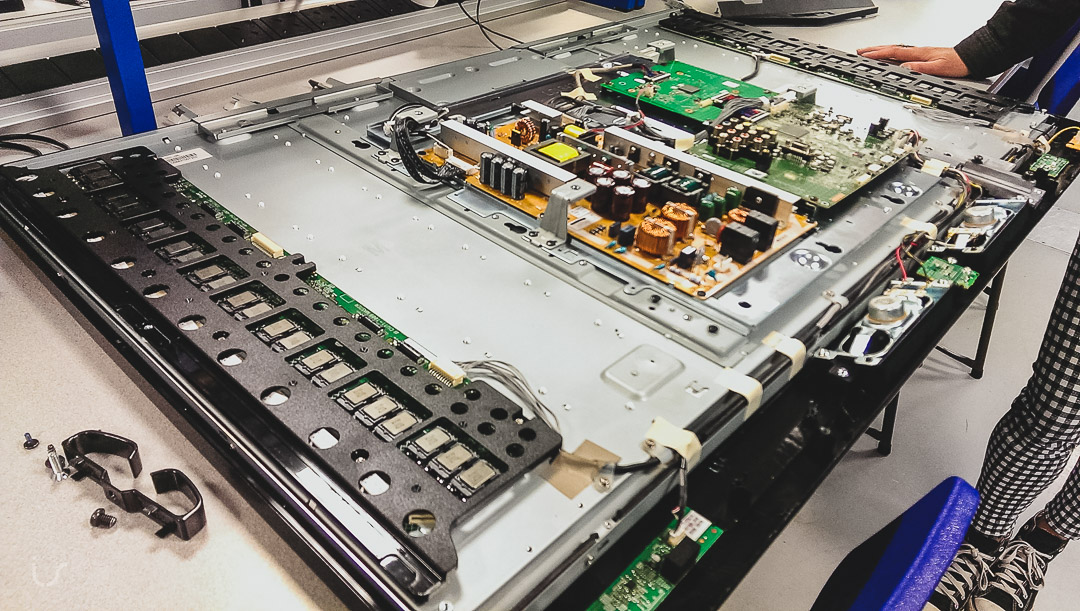
                          So, one of the bigger perks associated with working in a multimedia research lab is that you're surrounded by a ton of multimedia equipment. After a long day of fighting with an LTE simulator, its nice to have a 65" 3DTV to watch a film on after hours. Sadly a few weeks ago one of our passive 3DTVs in the lab gave up on us. This was regularly used for subjective assessments by other researchers and, after being [...]

                          20 02, 2011

                            A Menu System – Thoughts about data storage (ATMEGA328)

                            By |2016-11-05T11:17:47+00:00February 20th, 2011|Lightive Project|0 Comments

                            As i was designing the menu system it quickly became clear that all of the strings required for display would need quite a bit of program memory which simply was not available. Storing these in program memory as variables also meant they were loaded to the ATMEGA328's 2k of ram which will already be managing an array (no pun intended :p) of other variables. This was also a good time to begin considering where settings would be [...]

                            19 02, 2011

                              Issue – Driver freezing

                              By |2015-01-13T23:46:13+00:00February 19th, 2011|Lightive Project|0 Comments

                              The Issue When initially turned on the driver would happily receive commands and act on them. If the device transmitting the commands was interrupted then restarted it would cause the driver to freeze. The issue was reliably replicated. The Cause Using an array of serial messages to debug the code it was apparent the issue was the driver getting stuck in a loop governed by a "millis" function. The millis functions are part of the radio library for the Alpha modules [...]

                              17 02, 2011

                                Rounding Error Issues of Floating Arithmetic – Arduino

                                By |2016-11-05T11:17:47+00:00February 17th, 2011|Lightive Project|0 Comments

                                There is an issue with the previously shown fade mathematics which only appear on the Arduino. What seemed strange at first soon became clear. Micro-controllers are inherently more  comfortable performing integer mathematics over floating point. After analysing the results of the equations which were output to the computer via serial, the issue became clear. Rounding error of floating point arithmetic. The reason behind this rounding error is a cumulative error build up by recalculating repeatedly with an already error vulnerable result. [...]

                                17 02, 2011

                                  Calculating the Fade Mathematics

                                  By |2015-01-13T23:40:23+00:00February 17th, 2011|Lightive Project|0 Comments

                                  A C++ program was written to aid the design of code to be used to calculate and then implement fades on the driver unit. The program reads in all of the values which would be sent over a standard radio packet. This is | BAR | RED Val| GREEN Val | BLUE Val | Fade Time | . It then collects some information which the system will already know, this is the current values of the selected [...]

                                  3 01, 2011

                                    A LIBRARY DEDICATED TO THE SYSTEM

                                    By |2015-01-13T23:40:53+00:00January 3rd, 2011|Lightive Project|0 Comments

                                    Introduction By this point much experience and understanding had been gained in the use of libraries and their ability to simplify what is going on in the main program. It was decided that a library will be written to support the lighting system as a whole. This will cut down on code repetition and allow for quicker implementation of new features and tweaks. Code written to date has been modified and transferred to the library. The Library [...]

                                    22 12, 2010

                                      Adding the LCD (16X2 LCD DISPLAY) HD44780

                                      By |2016-11-05T11:17:47+00:00December 22nd, 2010|Lightive Project|4 Comments

                                      Introduction The LCD display in question is based on the very popular HD44780 controller. The Arduino platform has plenty of support for this controller and a library for its use is included with the Arduino IDE. The LCD will be driven in its 4-bit operation mode which requires the least pins. The 4-bit mode works by sending one nibble (4-bits) at a time to construct the entire byte. The display also has a character rom which simplifies [...]

                                      14 12, 2010

                                        Using the TLC5940 and Alpha TRX433s Together

                                        By |2016-11-05T11:17:47+00:00December 14th, 2010|Lightive Project|3 Comments

                                        Introduction SPI Bus SPI stand for Serial Peripheral Interface. The important details learned are as follows: Slave Select (SS) Serial clock (SCLK) master input / slave output (MISO) master output / slave input (MOSI) When it properly implemented there is 4 wires required. Although both of these components have been tested successfully, they have only been done so individually. The ATMEGA328 microprocessor used has one dedicated Serial Peripheral Interface (SPI) Bus. A design feature of SPI allows [...]

                                        20 11, 2010

                                          Problem – Issue with Arduino board power supply

                                          By |2016-11-05T11:17:47+00:00November 20th, 2010|Lightive Project|0 Comments

                                          Background After getting the wireless modules working at close proximity it was time to move them away to test range. At the moment prototyping is being completed using two of these: (Reference: http://www.emartee.com/product/41797/Arduino-Duemilanove-2009-ATmega328) The Arduino Duemilanove is a prototype board which provides the microcontroller everything it needs to be both run and programmed. This makes prototyping with these boards very easy. As can be seen in the photo above the board can [...]